Recently, some of my friends ask me on how did I enable self-signed certificate in my Mac OSX for localhost development. In this post, I will teach you how to trust self-signed certificate for Apache2 in your Mac to enable the green lock icon in your browser.
By default, Mac OSX already have Apache2 and OpenSSL installed. The first this
we need to do is enable ssl_module and
socache_shmcb_module in Apache2 configuration
/etc/apache2/httpd.conf and enable the
httpd-ssl.conf config near the end of the file.
Open you preferred terminal and execute the following commands:
sudo vim /etc/apache2/httpd.conf
In the command above, I used vim editor. But you can also use
nano or other command line text editor you prefer.
## Uncomment the socache_shmcb_module
LoadModule socache_shmcb_module libexec/apache2/mod_socache_shmcb.so

## Uncomment the ssl_module
LoadModule ssl_module libexec/apache2/mod_ssl.so

## Uncomment httpd-ssh.conf
Include /private/etc/apache2/extra/httpd-ssl.conf
Then, create your own self-signed certificate. Edit the openssl file
/etc/ssl/openssl.cnf and append [ san ] section
(knows as Subject Alt Name) at the end of the file.
sudo vim /etc/ssl/openssl.cnf
[ san ]
subjectAltName = DNS:localhost
By adding the above section in the openssl.cnf file, we will be
generating certificate for localhost only. Fortunately, we can
add more DNS host names besides localhost in a single self-signed
certificate. Just add a custom section and use it in the
subjectAltName.
[ san ]
subjectAltName = @alt_names

[ alt_names ]
DNS.1 = localhost
DNS.2 = *.localhost
The above settings is useful if you have multiple virtual hosts with different
server names. By doing this, you don't have to generate another certificate
for a specific virtual host or server name. Just follow the format
DNS.<number> = <hostname or wildcard>. This also
handles wildcard for server alias.
Run the command below to generate the certificate and key file.
sudo openssl req -extensions san -config /etc/ssl/openssl.cnf -x509 -nodes -newkey rsa:4096 -keyout /private/etc/apache2/server.key -out /private/etc/apache2/server.crt -days 365 -subj "/C=PH/ST=MetroManila/L=Makati/O=WebDevelopment/CN=localhost"
- Note that you can change the subject part with your preferred details.
C=PH
ST=MetroManila
L=Makati
O=WebDevelopment
CN=localhost
-
You can even increase the value of
-days(let's say 9999) instead of just 365 so you don't have to generate again after a year. -
For the CN(Common Name)
part, I recommend to retain the value as
localhost.
The command will generate 2 files, the certificate file
/private/etc/apache2/server.crt and the certificate key file
/private/etc/apache2/server.key.
These files are required by
/private/etc/apache2/extra/httpd-ssl.conf as the values for
SSLCertificateFile and SSLCertificateKeyFile.
Next, check the config file by running this command:
sudo cat /private/etc/apache2/extra/httpd-ssl.conf
Then verify if the following lines are uncommented.
Listen 443
SSLEngine on
SSLCertificateFile "/private/etc/apache2/server.crt"
SSLCertificateKeyFile "/private/etc/apache2/server.key"
After that, check if the changes in Apache2 configurations are valid. Run the
configtest argument in apachectl command
sudo apachectl configtest
Before proceeding, make sure that the configtest output is
Syntax OK
Now, run this command to add the generated certificate to your Mac's KeyChain and trust the self-signed certificate
sudo security add-trusted-cert -d -r trustRoot -k /Library/Keychains/System.keychain /private/etc/apache2/server.crt
Once done adding the certificate to keychain, restart the Apache2 instance
sudo apachectl restart
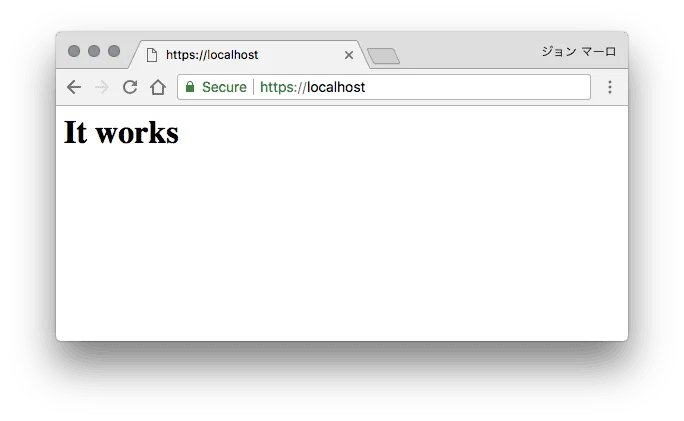
You should now be able to access https://localhost/ on your Mac OSX with the green lock icon in the omnibox like in the image below.
If the Not Secure or the page still displays Connection is not Private, try to close your browser and reopen it again. If reopening the browser doesn't work, double check your the Apache2, VHost or SSL configuration.